A dripping tap can be the bane of your existence, constantly nagging at your ears and draining your wallet as it wastes water. But fear not! Fixing this issue doesn’t have to be a headache, and you don’t need to call in a pricey plumber. Changing a tap washer is actually quite simple, and this blog post is here to walk you through the process so you can banish those annoying drips for good.
What on Earth is a Tap Washer?
It might sound like a tiny alien creature, but a tap washer is actually an essential component for keeping your taps in tip-top shape. These little rubber or plastic discs sit snugly between the tap handle and spindle, using pressure to halt the flow of water. By doing so, they protect the moving parts from wear and tear caused by water, extending the life of your entire plumbing system.
To keep everything running smoothly, it’s important to check your tap washers now and then because they can wear out over time due to frequent use or exposure to harsh chemicals. Having a stash of the right washers at home can save you time, money, and stress in the long run.
Are All Washers the Same Size?
If only it were that simple! The truth is, tap washers come in various sizes. The size you need depends on the type of tap you’re dealing with. For example, bathroom taps usually have smaller washers than kitchen taps, thanks to their slimmer design. Meanwhile, outdoor taps often need larger washers to withstand the elements and general wear and tear.
And if you thought all washers from the same manufacturer would be the same size, think again! Even two taps from the same brand might require different washer sizes, depending on factors like additional components such as aerators or spray heads. So, before you start shopping for a replacement, make sure you know the exact size of your current tap washer. That way, you’ll be well on your way to a drip-free home in no time.
Types of Tap Washers
- Flat Washers: Flat, disc-shaped washers made from rubber or felt with an adhesive backing. Ideal for everyday wear and tear, especially in high-flow taps. Downside: prone to clogging with dirt or debris.
- Cone Washers: Slightly tapered rubber or felt discs with an adhesive backing. Fit snugly into the valve seat and provide extra sealing power. Best for low-flow taps. Downside: can be difficult to install due to their shape.
- Fibre Washers: Made from tough aramid fibres like Kevlar, these washers have an adhesive backing and offer superior sealing power. Highly resistant to wear and tear. Downside: more expensive than other types.
Tools Needed for Changing a Tap Washer
- Slot and Philips screwdrivers: For removing mounting screws that secure the faucet.
- Adjustable wrenches: Various sizes may be needed during the process.
- Socket pliers: Useful for larger taps where screws don’t fit well into regular screwdrivers.
- Adjustable spanner: For unthreading lock nuts.
- Basin wrench: Helps access tight spots below the sink.
- Pipe grips or mole grips: Assist in holding pipes when adjusting them for installation or repairs.
- Faucet puller: Allows for the removal of old parts without damaging them.
- Crescent wrench: A versatile tool for various tasks during the tap washer replacement process.
Ensure you have the proper size tools and ones that are long enough to reach hard-to-access areas for a successful repair job.
Safety Considerations
When it comes to repairing or replacing a tap washer, safety should always come first. Keep the following tips in mind to ensure a smooth and secure process:
- Turn off the water supply: Always switch off the mains water supply at the shutoff valve and double-check that no pressure remains in the pipes before opening them up. This helps prevent any accidental flooding.
- Be cautious with hot water: To avoid burns from hot water or steam, keep your face and hands away from pipes containing hot water before turning the main supply back on.
- Wear insulated gloves: When working with taps or exposed electricity, always wear insulated gloves as a safety precaution.
By taking these safety considerations into account, you’ll be well-prepared for a secure and successful tap washer repair or replacement.
Step-by-Step Instructions
- First things first, gather all the tools you’ll need: an adjustable wrench, a flathead screwdriver, a cloth rag, a pair of pliers, a new tap washer (make sure it’s the same size as the old one), and some plumbing tape or thread sealant compound.
- Before we dive in, turn off the main water supply valve and open up both the hot and cold taps in your bathroom sink. This will help drain any remaining water from the pipes.
- Now, grab your adjustable wrench and remove the tap handle by twisting it counterclockwise until it comes free. Put it somewhere safe, so you don’t lose it.
- With the handle gone, use your trusty flathead screwdriver to gently remove any decorative caps or covers that protect the valves underneath.
- Once you have a clear view inside, find the old tap washers. Use your pliers to hold them steady while turning them clockwise until they come loose. Be careful not to damage the valve threads, as this could lead to leaks or water pressure issues later on. Wipe away any grime or debris around the valve area with your cloth rag.
- Time for the new tap washers! Apply some plumbing tape or thread sealant compound on their edges before screwing them into place clockwise using your pliers. Make sure they’re firmly tightened, but don’t go overboard – over-tightening can cause damage.
- Almost done! Reattach the tap handle to its base by twisting it counterclockwise with your adjustable wrench. Tighten it just enough, but not too tight.
And there you have it! You’ve successfully replaced a tap washer. Give yourself a pat on the back for a job well done.
How to Clean Up After Changing the Tap Washer
Once you’ve replaced your tap washer, it’s important to clean up after your repair. Follow these steps for a tidy and well-functioning tap:
- Wipe down the area around the tap with a damp cloth or kitchen roll to remove any grease or debris.
- Mix a few drops of vinegar or bleach with warm water, then scrub the outside of the tap thoroughly.
- Turn on the water and check for any drips or leaks before returning the fixture to its original position.
By following this simple process, you’ll ensure that your new washer works effectively over time, and your sink stays looking great!
Common Mistakes
- Using incorrect tools and parts: Make sure you have the right tools and materials for the job. Using the wrong size or type of wrench or screwdriver could damage your taps or fittings, leading to further problems. Choose the correct size of replacement washer and ensure it fits snugly inside the housing.
- Failing to shut off the water supply: Always turn off your water supply before attempting any repairs or replacements. This helps prevent accidents due to unexpected water flow. Remember to check both hot and cold water supplies before starting work.
- Unscrewing too much: Avoid removing more from the fixture than necessary during disassembly. Over-unscrewing can make reassembly difficult and lead to issues like leaks or improperly fitting fixtures.
- Seating the new washer incorrectly: There are several ways to seat a new tap washer correctly. Whether you’re using a screwdriver or wrench to remove the bonnet nut and old washer, press-fitting the new washer onto threads in the stem assembly, or replacing some plastic versions by pushing them in place from below, follow all instructions carefully for optimal performance.
Different Ways of Seating the New Washer
There are several methods for seating a new tap washer correctly, helping to ensure its longevity and performance:
- Using a screwdriver or wrench: Remove the bonnet nut and old washer before inserting the replacement. If the new washer has a split-ring design, fit it into a groove in the stem, and then secure it with screws.
- Press fitting the new washer: Press fit the new washer onto threads in the stem assembly and thread back in place. Ensure the thread direction is correct and rotate the spindle until it sits against the valve seat’s face.
- Replacing plastic versions: Push some plastic washers in place from below, as long as there’s enough spring tension available.
Troubleshooting Tips for Leaky Taps that Use a Tapered Rubber Washer
If you’re dealing with a leaky tap that uses a tapered rubber washer, follow these troubleshooting tips:
- Turn off the water supply: Make sure all taps in the area are turned off to isolate potential issues.
- Inspect the tap: Check for any visible damage or wear and tear. If you think there’s a problem with the tap, replace it with a new one.
- Replace the washer: If the issue persists after replacing the tap, consider replacing the tapered rubber washer itself, ensuring proper installation and seating.
How to Test the New Tapered Rubber Washer
Testing a new tapered rubber washer might seem daunting, but with the right approach, it’s quite straightforward. Follow these steps to ensure your washer is up to the task:
- Inspect the washer: Check the washer for any defects or contamination.
- Lubricate the washer: Apply a generous layer of lubricant on both sides of the washer to ensure a smooth fit when assembled.
- Apply pressure: Use a machine or manual tool to apply pressure or tension to the washer, verifying that it deforms properly and retains its shape when released.
- Test the seal: Check whether the seal created by the washer holds up under various environmental conditions, such as extreme temperatures and humidity levels.
FAQs
Should You Hire a Professional?
While changing a tap washer may seem like a simple DIY task, it’s often best to leave it to experienced plumbers. This is because the process involves shutting off the water supply and disassembling the faucet, which can be complicated and time-consuming without experience. Incorrectly handling the repair could lead to additional costly plumbing issues later on. Hiring a professional saves time, and money, and ensures the job is done right.
How Often Should You Replace a Washer?
The frequency of replacing tap washers depends on the type and quality of your taps and their usage. High-usage taps with low-quality washers might need replacement every year, while less-used taps with high-quality washers can last a couple of years or more. Inspect the washers more frequently if you notice changes in water pressure. Regular maintenance can save you from costly repairs down the line!
Conclusion
Congratulations! You’ve successfully changed a tap washer. Remember to turn off the water before making any adjustments, and don’t hesitate to seek advice from your local hardware store if you’re unsure about anything. With these simple steps, you’ll become a tap expert in no time!
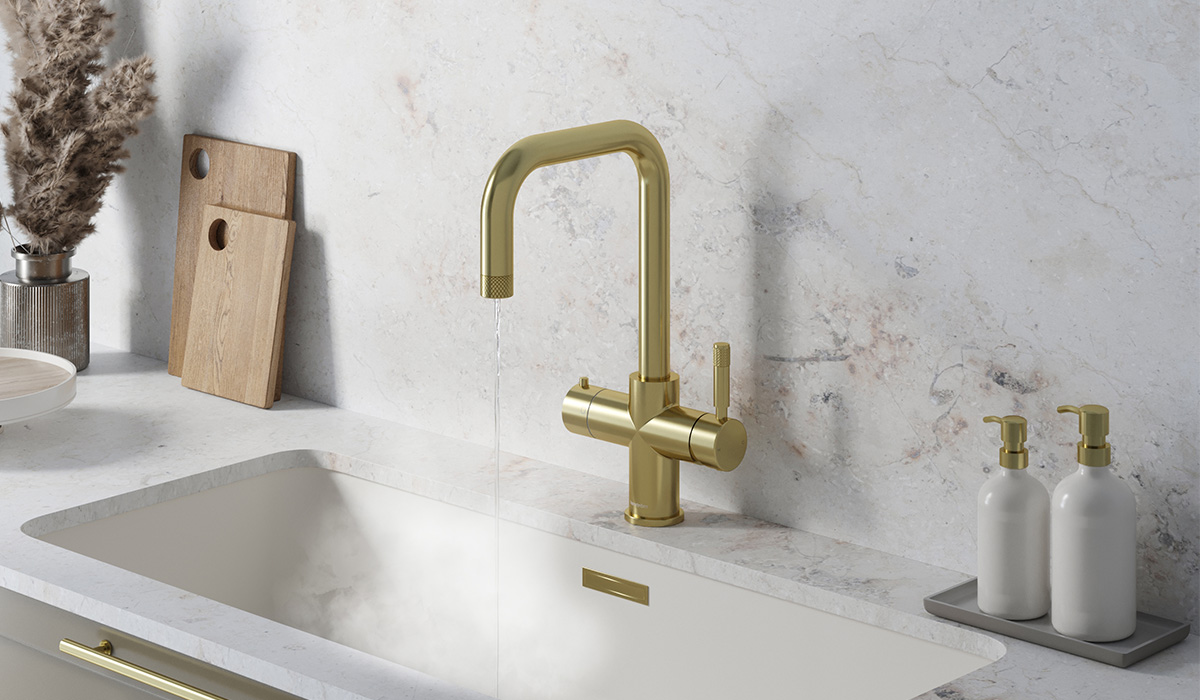
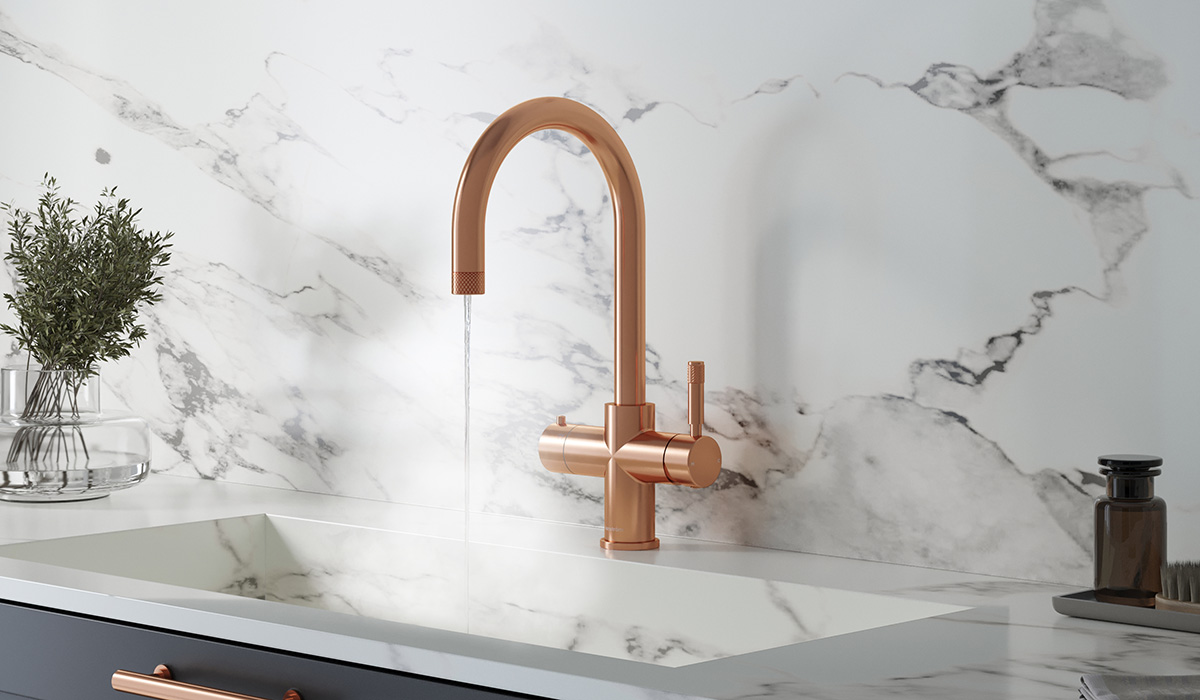
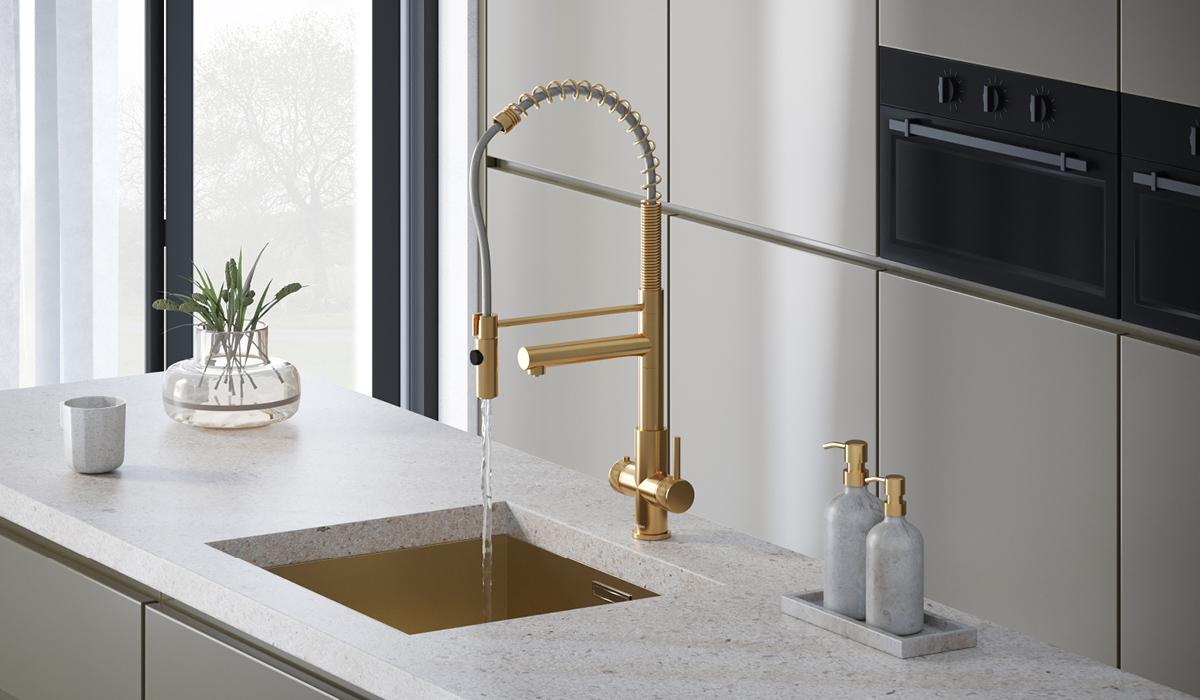
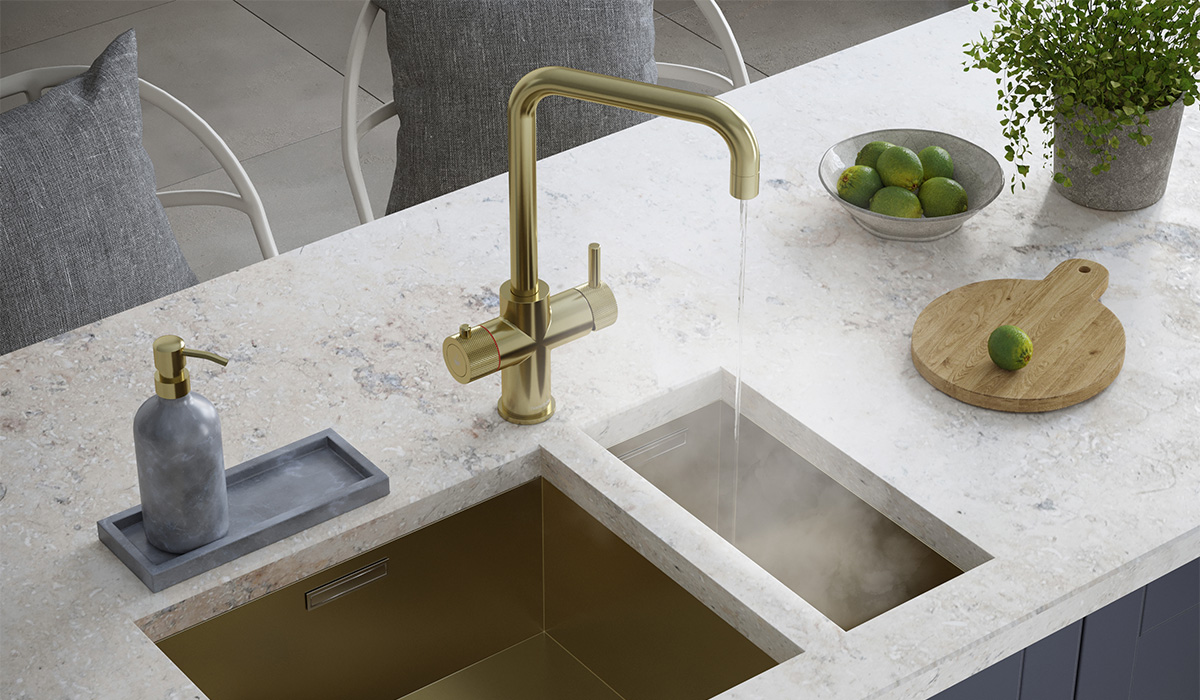
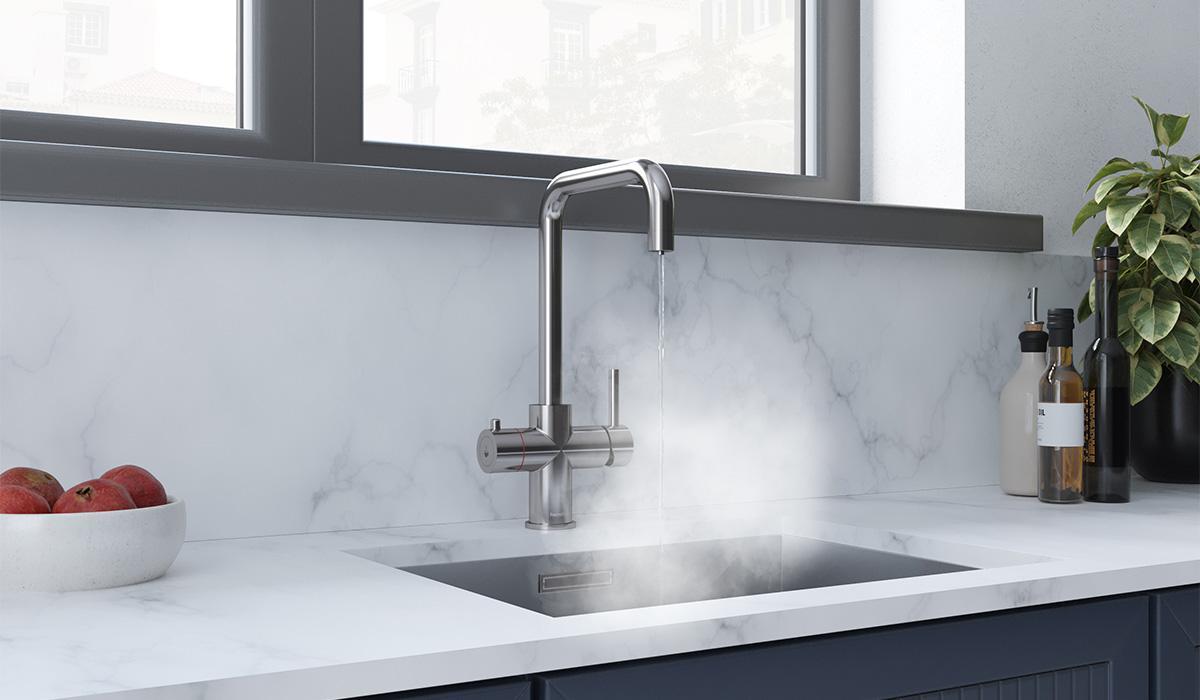
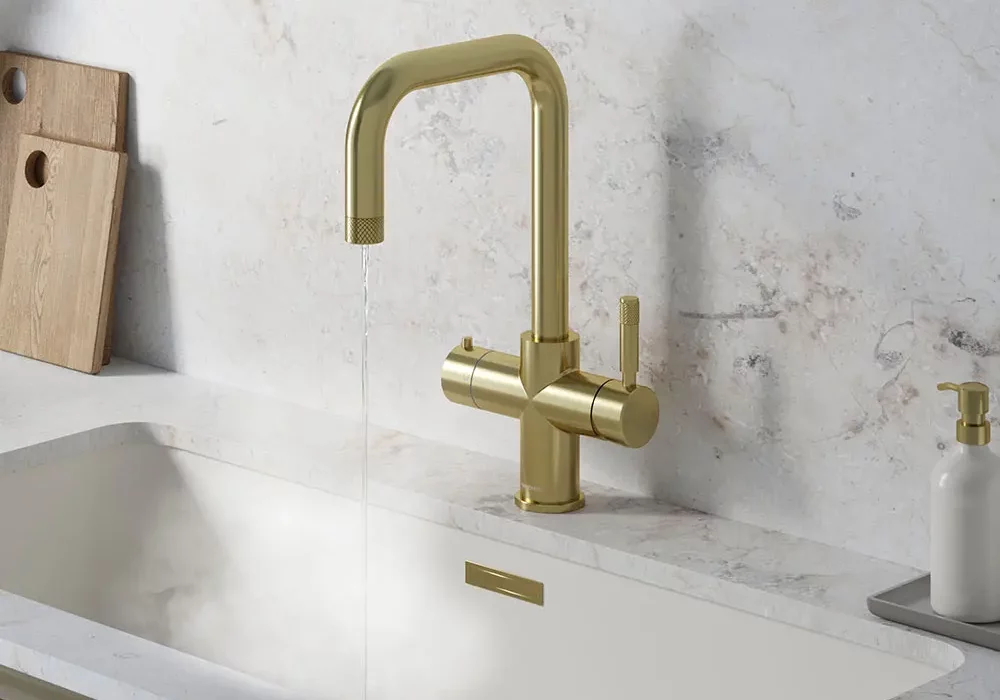
Sick of Your Old Tap? Upgrade to a Boiling Water Tap Instead
Tired of dealing with leaky taps and endless dripping sounds? Why not upgrade your kitchen experience with the ultimate convenience: a boiling water tap? These modern marvels are designed to simplify your life, save time, and bring a touch of luxury to your everyday routine. Let’s dive into the amazing benefits of boiling water taps and why you should consider making the switch.
Why Choose a Boiling Water Tap?
- Instant boiling water: No more waiting around for the kettle to boil when you’re craving a cuppa or need hot water for cooking. Enjoy hot water on demand, right from your tap!
- Energy efficiency: Boiling water taps use less energy than traditional kettles, helping you reduce your carbon footprint and save money on your energy bills.
- Streamlined design: Say goodbye to cluttered countertops. Boiling water taps boast sleek, modern designs that blend seamlessly with any kitchen style.
- Safety features: With built-in safety features, such as child locks and cool-touch spouts, you can have peace of mind knowing your family is protected.
So, are you ready to say goodbye to your old tap and embrace the future of kitchen convenience? Upgrade to a boiling water tap today and experience the difference it can make in your daily life!
Explore our range of boiling water taps and transform your kitchen into a modern, efficient space. Don’t wait any longer – make the switch now and enjoy the benefits of instant boiling water at your fingertips.
Read more about the benefits of boiling water taps, learn how a boiling water tap works or shop our full collection of taps.