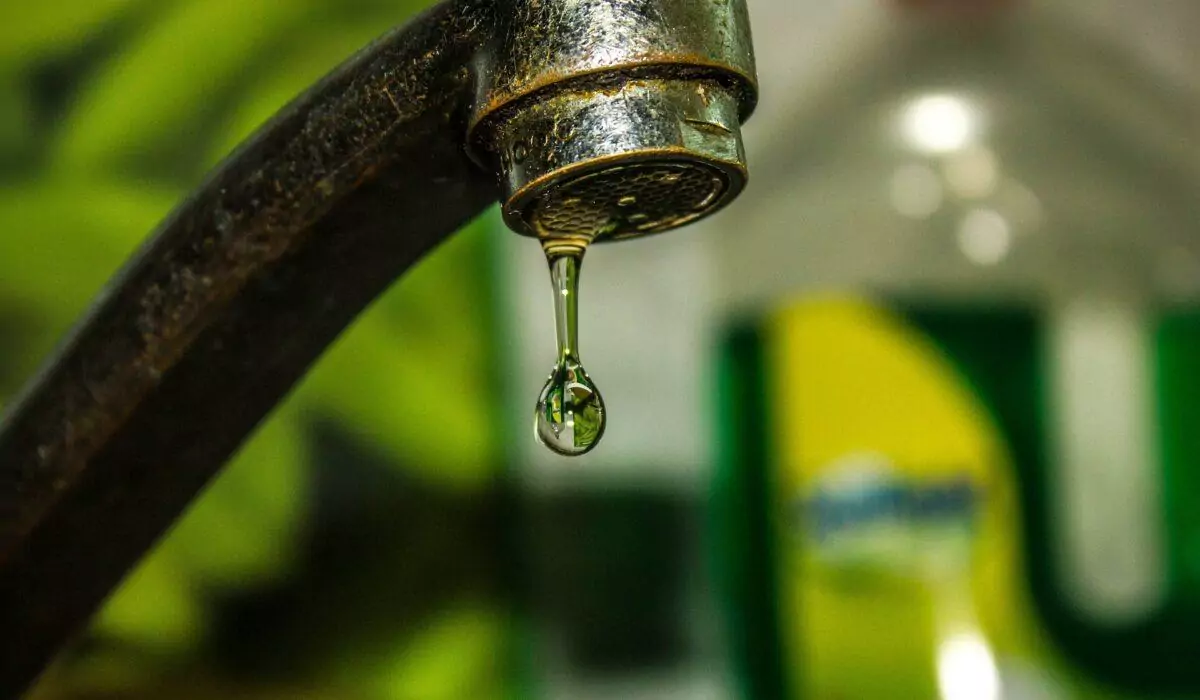
Is your kitchen or bathroom sink constantly dripping, wasting precious water and annoying everyone in the house? You don’t need to call a plumber—it’s surprisingly easy for DIYers with basic plumbing knowledge to fix a common tap issue.
Whether you’re dealing with an old-fashion compression style faucet or the more modern type of cartridge-based faucet, it is possible to repair most leaks without too much effort. We’ll take you through all the necessary steps, from assessing the problem and getting together all the required tools and materials before you start on major repairs. Keep reading as we break down how to stop that leaky tap!
Assessing the Issue
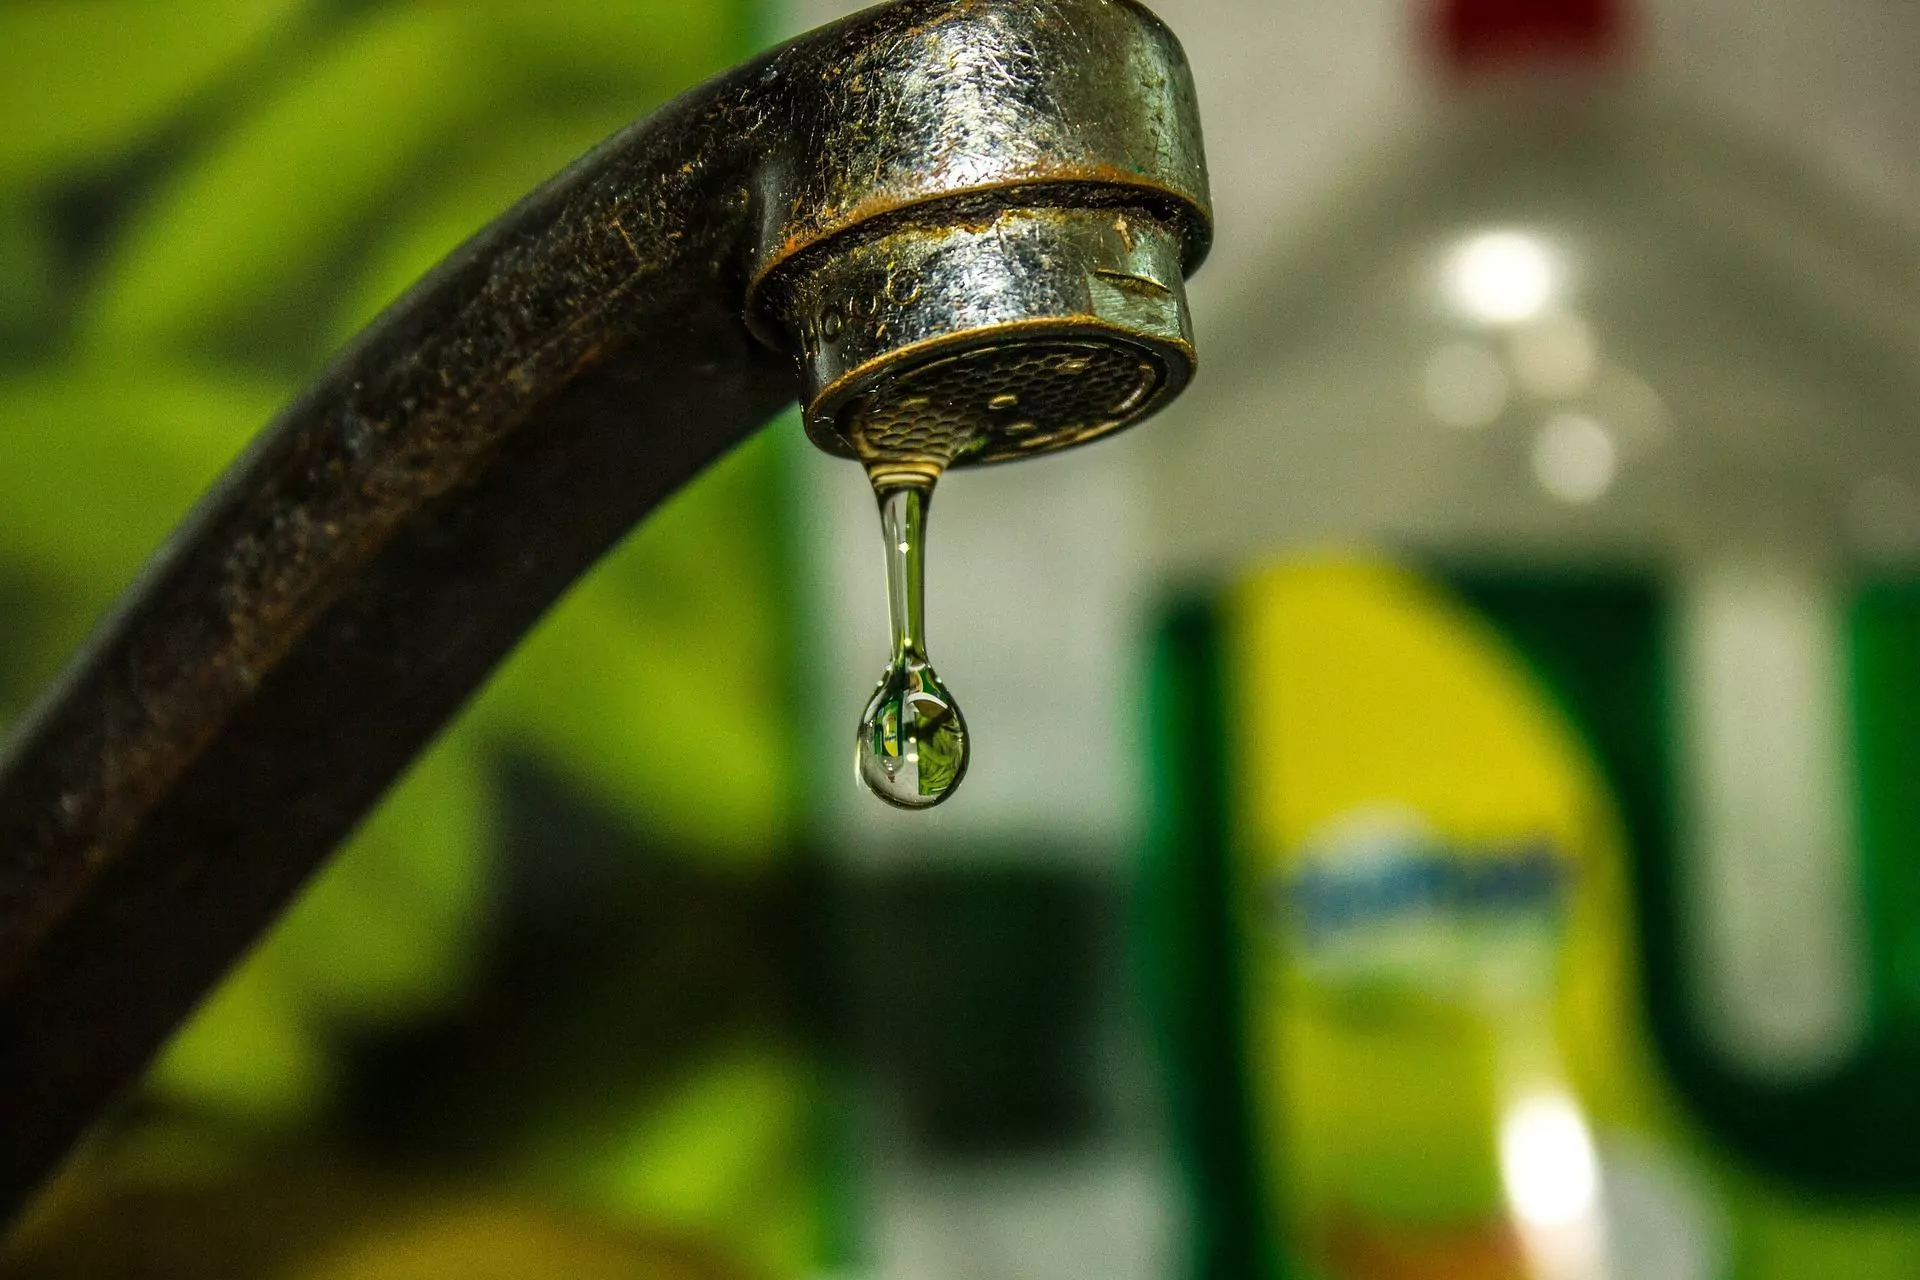
Assessing the issue of tap dripping can be a daunting task, particularly if you lack experience or knowledge of plumbing. A good place to start is by examining the valve itself, as it can help determine the cause of the leak and help guide you towards fixing it or needing to call a plumber.
Check that the valve is securely tightened and functioning correctly. It could also be beneficial to use silicone tape or replace the O-ring to fit better. If all else fails, get assistance from an experienced professional, as they will have specialized tools and access to parts that can make tackling this problem much easier and safer.
Gather Necessary Supplies
Fixing a dripping tap requires the right tools and supplies. The necessary items include a screwdriver, adjustable wrench, replacement washers and O-rings, belt clamps, and plumber’s putty. If you don’t already own these items, they may be found easily in your local hardware store or online. In addition to the supplies, it is vital to have a few key preparation steps in mind before beginning the repair process.
First of all, turn off the tap’s water source. Be sure to use the appropriate shutoff in your home, so you don’t end up flooding other areas of your house! Additionally, ensure that all supplies are compatible with your fixture’s type and size for a successful fix. With a few minutes of planning and preparation, plus careful use of the necessary tools, you will soon have fixed your dripping tap!
Shutting Off the Water
Facing a dripping tap can be incredibly annoying, and shutting off the water while repairing it can be even more inconvenient. However, if you plan on tackling this problem yourself, you must do so safely and carefully. Make sure you are familiar with where your main water shutoff valve is located before attempting to fix the tap – this will prevent any further damage being caused during the process, such as flooding or water damage.
Doing a full assessment of the issue before attempting to repair it may also help you save time and money down the track. With a few simple precautions and a little bit of information, you, too, can achieve success in fixing that pesky dripping tap!
Removing the Handle
Fixing a leaking tap is often a do-it-yourself job that can save you time and money spent on calling professional plumbers. The first step when fixing a dripping tap is to remove the handle, which can be done fairly easily with a few tools. If you don’t already have the necessary tools handy, they are widely available and inexpensive at most hardware stores.
Upon removing the handle, you’ll have access to the valve seat, washer and other components that may need replacing due to wear or tear and ultimately causing your tap’s leak. By removing the handle, you’ll be well on your way to fixing that pesky dripping tap once and for all.
Identifying the Problem
Check for Loose Washers and Seals
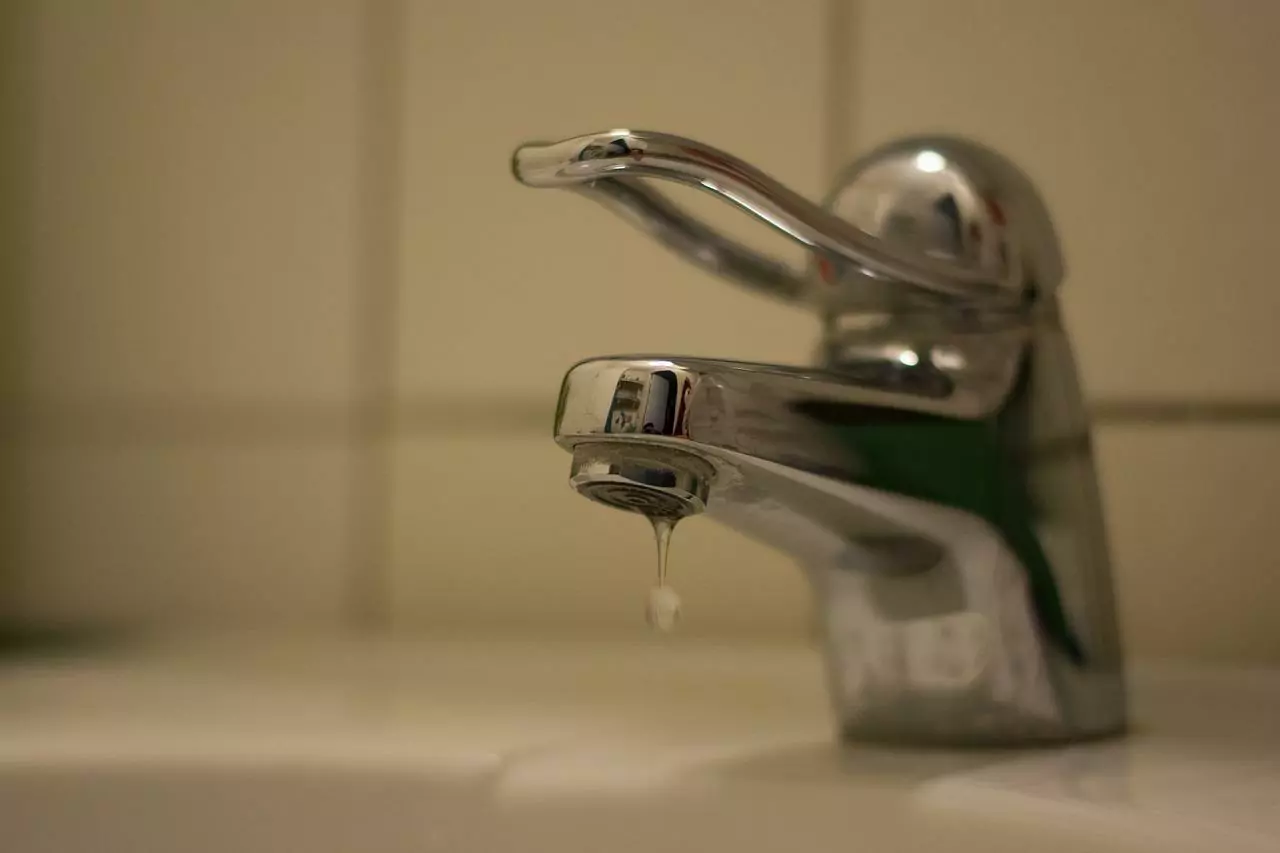
A loose washer or seal is one of the most common reasons for taps to drip. To check for these problems, turn off the water supply and unscrew the handle of your tap. Inside, you should find both a washer and a seal that is held in place by screws or bolts. If they are loose, replace them with new ones.
Look for Damage or Wear and Tear
Sometimes, when washers and seals become worn out over time, they may not be able to do their job properly anymore. Look for any signs of wear and tear on these components before replacing them, just in case they have been damaged beyond repair. This will help make sure that your replacement parts will last longer than if you had just installed new ones without checking first.
Check the O-Ring
The O-ring is another component that can cause taps to drip if faulty or damaged. To check the O-ring, turn off the water supply and remove the handle of your tap again. You should see a black rubber O-ring inside, which can easily be replaced with a new one if necessary.
Replacing Washers
If you have a dripping tap, chances are the washer needs to be changed. Replacing the tap washer is an easy process that most homeowners can do on their own. In order to change the tap washer, you’ll need a range of basic tools like an adjustable wrench, flathead screwdriver, needle nose pliers, and of course, replacement washers.
Before diving into your project, turning off the water supply to your system is essential so that you don’t get sprayed with a huge blast of water when opening the system up. Then, simply change out the old worn-out tap washer with the new ones and enjoy a now-working tap free from leaks!
Installing a New Valve
Fixing a dripping tap is something that many homeowners dread, but it doesn’t have to be stressful. With the right tools and knowledge, it can be done in no time. One of the most important steps in repairing a leaking tap is to install a new valve. This involves turning off the water supply, removing the old valve, lubricating the new one, and installing it according to the manufacturer’s instructions.
Taking your time while choosing the right valve and installation method helps ensure that you get it done right with minimal effort and bother. With an easy-to-install valve, you’ll find that fixing a dripping tap isn’t as daunting as you thought – so what are you waiting for?
Reassembly
After successfully fixing your troublesome dripping tap, it’s important to start the reassembly process so that your sink looks as good as new. Begin at the top of the faucet and work your way down, carefully rebuilding each piece. Tighten any nuts with a wrench until everything is fit snugly. Water-resistant plumber’s putty should also be used to ensure no further water leaks from the fitting.
Once you have replaced the internals, replace the knobs or handle in place and turn on the water supply to check for proper operation. With just a few easy steps, you’ll be able to enjoy a functional, plumbing-free kitchen once again!
Turning on the Water
Turning on the water after fixing a dripping tap may feel like a small victory, but it really is a big accomplishment. After all, what you’ve just done is repair something yourself without having to call in the professionals or purchase expensive parts or materials.
You’ve instead put some basic DIY skills to the test and can now reap the rewards of fresher, clearer drinking water at a fraction of the cost. Not to mention, if your dripping tap was starting to bother you with its persistent drips and drops, then having it repaired will also be a bonus.
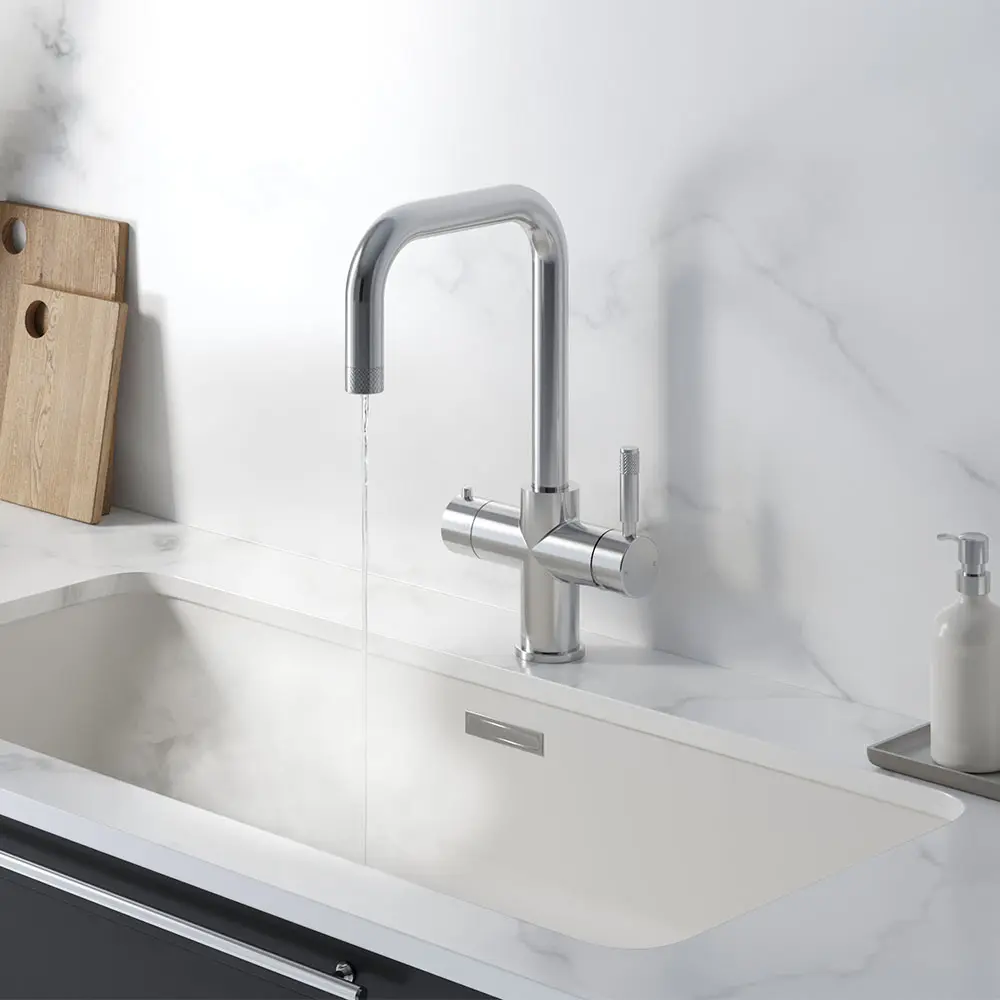
Testing for Success
The last step after repairing a dripping tap is to test for success. Run the water through the taps and observe any dripping or leaking from different points of the faucet. If all looks good, then you’ve done a great job! Congratulations on fixing your own tap! A little DIY knowledge goes a long way in protecting your wallet and giving you peace of mind. As far as home maintenance projects go, repairing a dripping tap is undoubtedly one of the most simple – so enjoy the satisfaction of doing it yourself!
Conclusion
A dripping tap is a minor issue that can be easily fixed by following the steps above. With a few tools and a little bit of time, you can fix your dripping tap and avoid wastage of water and higher water bills. Our 4-in-1 taps come with a technologically advanced filter, designed to remove impurities from tap water. Read more about the benefits of boiling water taps, learn how a boiling water tap works or shop our full collection of taps.
